Use activities to track time in greater detail for each project and sub-project, including various project activities like meetings, travel, or overtime. Unique cost multipliers can also be assigned to each activity.
Enable Project Activities for your account:
1. Click on Settings > Company Settings > General and navigate to Use Activities

2. Choose if you want to allow activities to be created individually for each project

3. Or if prefer to automatically set activities to all projects
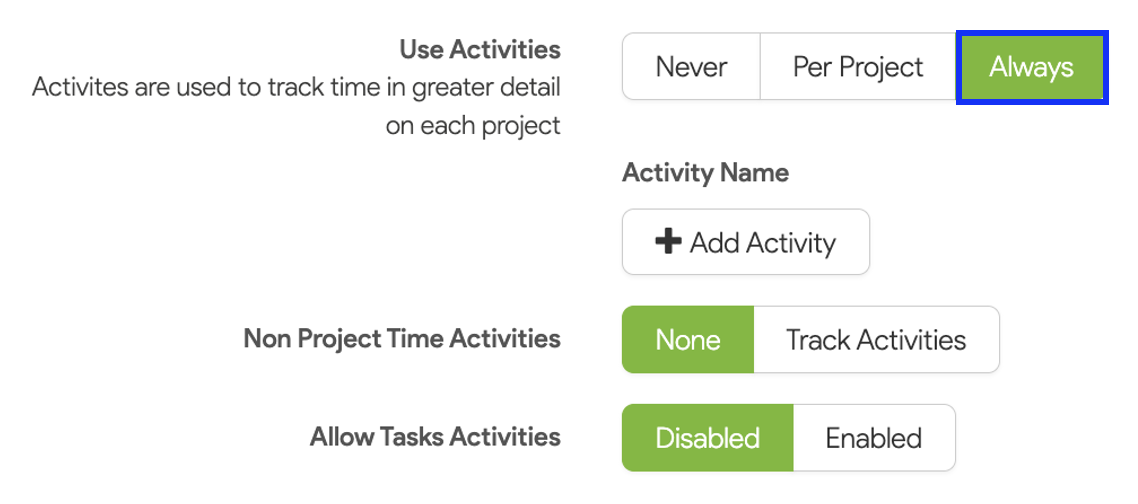
4. Click Add Activity to create a list of all the activities you want to track time for.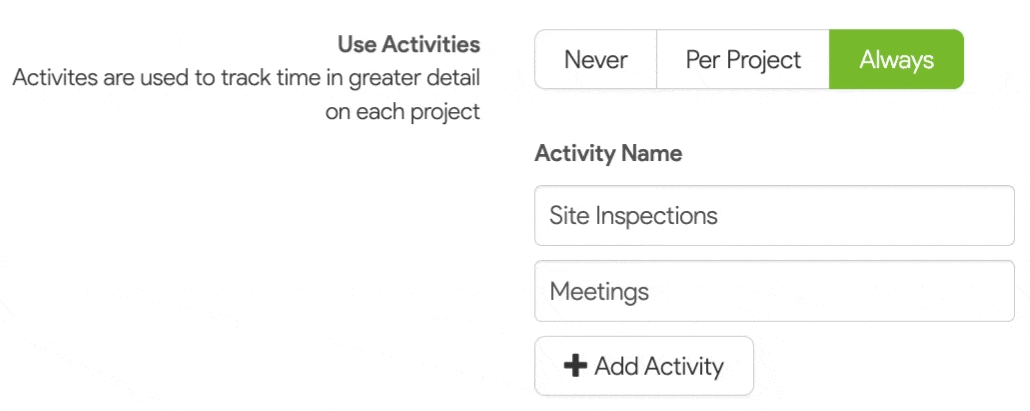
5. Then, specify the cost rate multiplier for each activity. 6. When Activities are set to Always, you’ll have the option to include non-project time in activity tracking.
7. Finally, you can choose to enable Task Activities, which allows users to capture time against individual tasks.

8. Lastly, Click Save.
Adding Activities to your Project:
1. Navigate to your Project > Go to the Three Dots > Project Activities:

2. A list of all sub-projects will appear. From here, select the relevant stage you want to add activities for.
3. Click Load Default to automatically generate the list of activities you previously set up in Settings.
4. Alternatively, select Add Activity to define specific activities and the cost multiplier for individual sub-projects.
5. Lastly, Click Save.
Capturing Time for Activities:
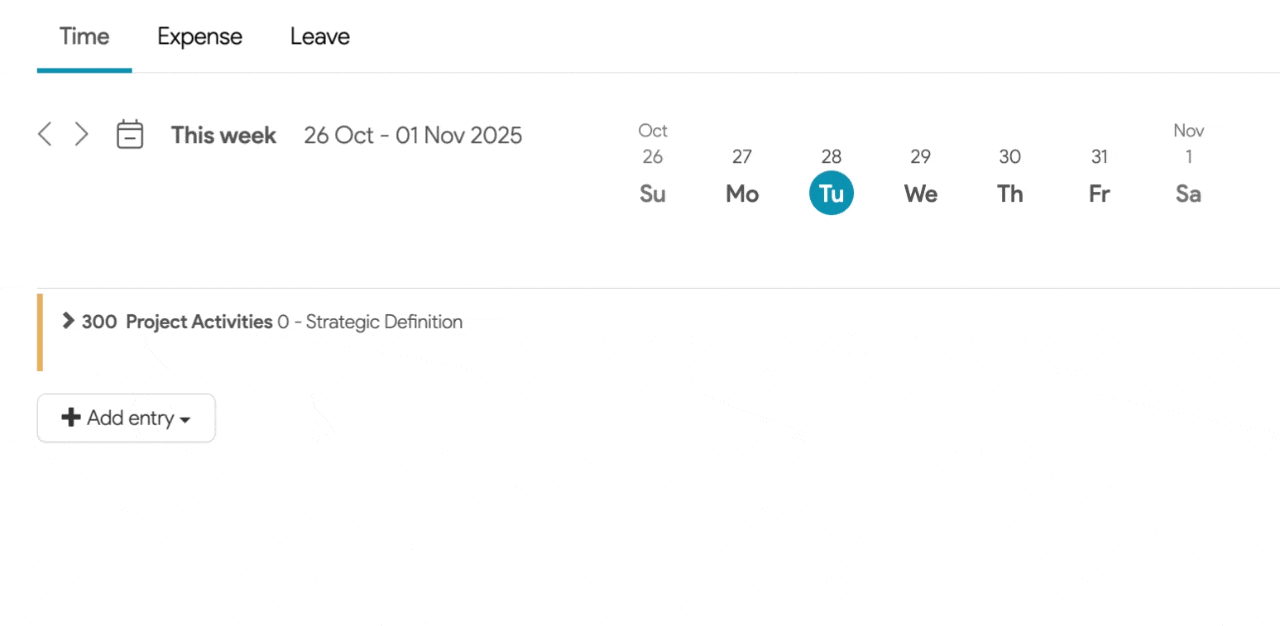
1. To capture time for activities, navigate to the Capture Time tab and begin by selecting + Add Row to select your Project and Sub-Project.

2. Now, simply click the > arrow to load the list of activities.
3. You can now record your hours against the relevant activities
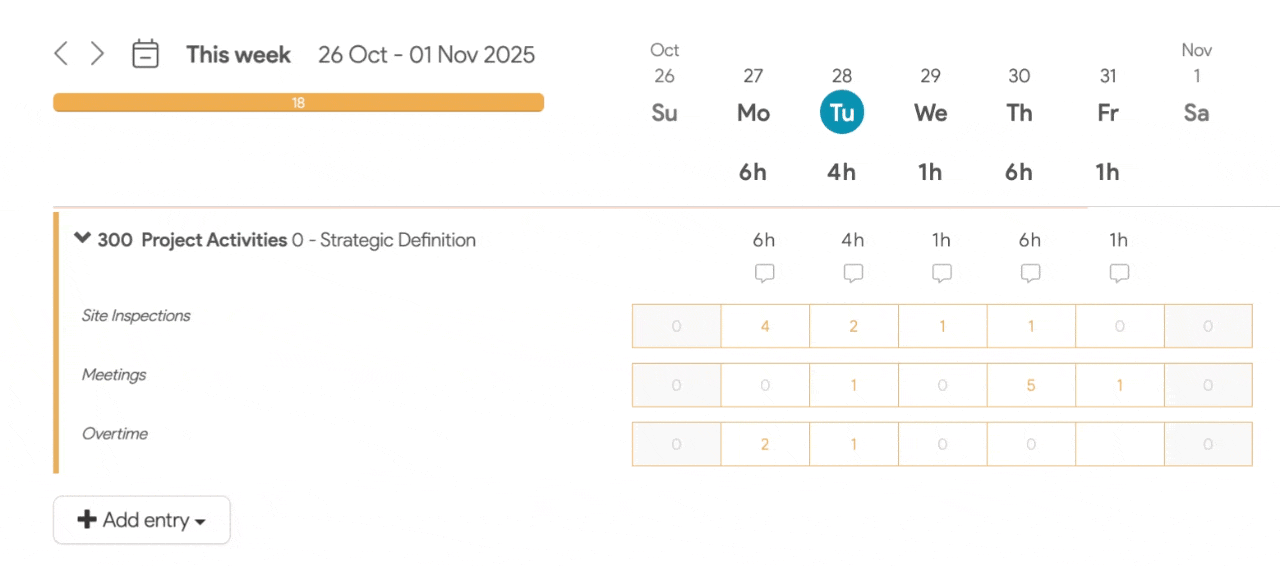
4. At the end of the week, click Submit to submit your timesheet.
