Invoicing from Fresh Projects allows for a an accurate reflection of the income incurred on projects during their various stages. Invoices can be raised for a Lump Sum Fee, Time Based Fee and Disbursements. In addition, the invoice data stored in Fresh Projects can be downloaded into a custom invoice template to share with clients.
Raising an invoice for a Time Based Fee against a project can easily be done as follows:
- In the main menu, click Financials and select Invoicing & Expenses from the drop-down list.

- Open the Invoicing tab.

- To begin, set the Month wherein the invoice falls and click +Add Invoice.

- Search or scroll through the list to set the Project Name before choosing the relevant Sub Project against which you would like to invoice, and click +Select. Should you wish to invoice against multiple project stages in the invoice, the additional stages can be added in the coming steps.

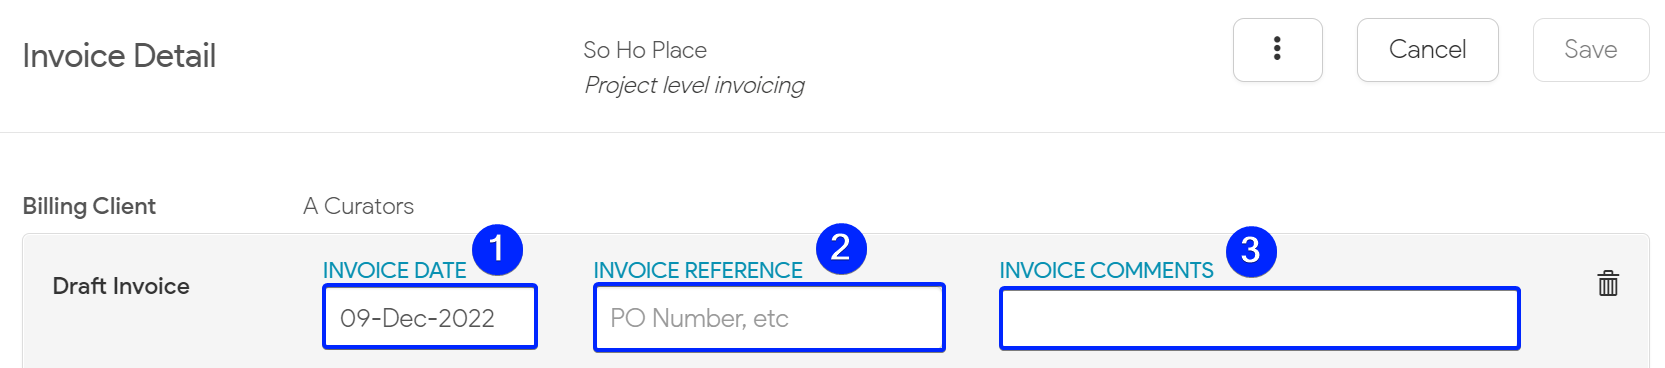
- Next, set the Invoice Date, Invoice Reference and Invoice Comments, if any.
- To the left of the screen you will be able to see the name of the stage you are currently invoicing for. Any detail or comment you'd like to record with regards to the work done on this stage can be entered in the notes text-entry box just beneath it.

- Now, to set the invoice amount, click +Add Fee Type and select Add Time Based Fee.

- Set the relevant Billing Table if you have not done so already within the project page.

- Set the Start and End dates of the time frame wherein you want to reflect all approved time and then click Load Approved Time.
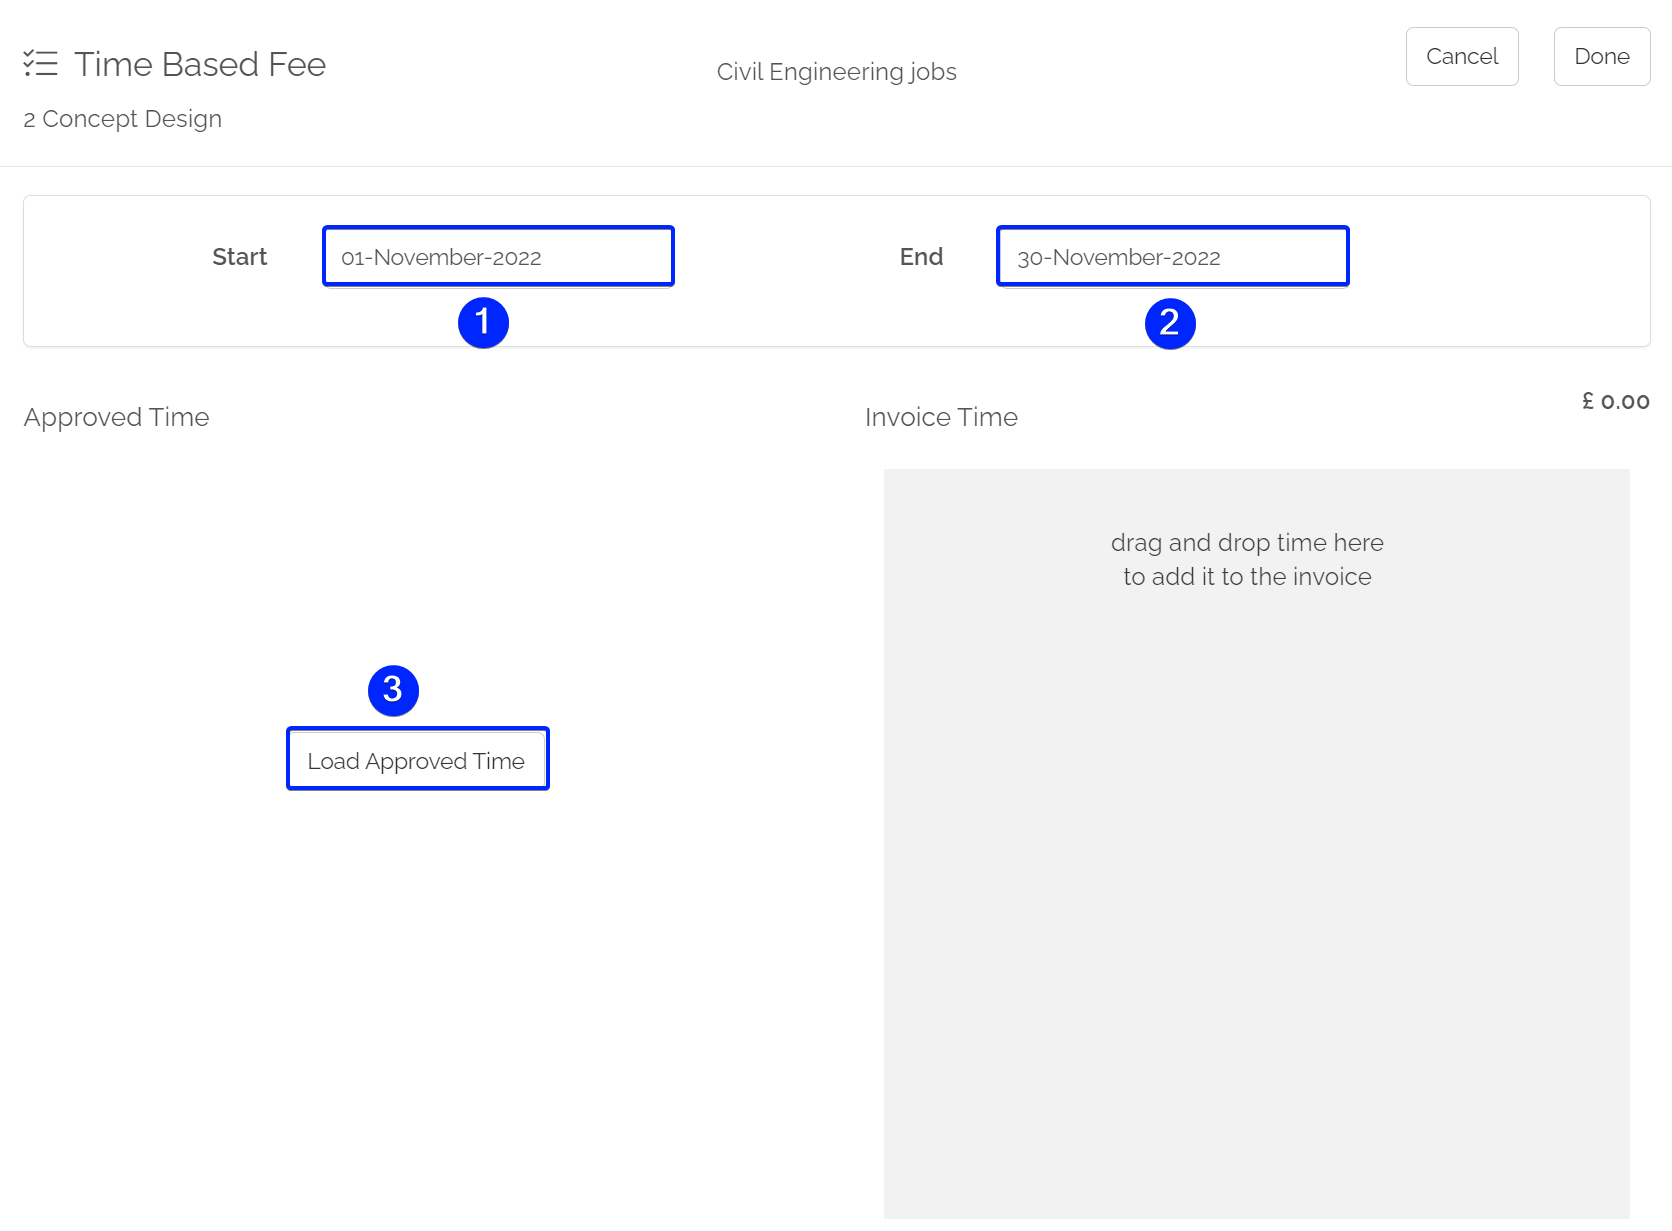
- Any approved timesheet entries that exist within this period will appear as individual items for each staff member. From here, you can click and drag the entries for which you want to invoice from the Approved Time section to the Invoice Time section.

- If you would like to make any changes to the number of hours worked, simply click on the hours in the relevant entry and type in the new value.
- Once you are satisfied with the Invoice Time, click Done.

- Now you will see the Time Based Fee entry you created in the previous steps within the invoice contents.

- If you would like to include any additional project stages to include in this invoice, click Add sub project and select the relevant stage from the drop-down list.

- The Sub Total, VAT and Grand Total of the invoice will be visible near the bottom right-hand corner of the pop-up window. The VAT percentage is governed by the Tax Rate associated with the Client of the project.

- Now click Select Invoice Template and select the relevant template used. If you do not have an invoice template to select from, please reach out to us and we will happily create one for you with your company details.

- Now, click Download Draft to download the invoice detail within the selected invoice template into Microsoft Word. From here, you will be able to make any final changes to the document before sharing it with clients.

- Once you are satisfied with the contents and detail of the invoice, click Finalise. Please note that once an invoice is finalised, no editing can be done and if any changes are required, the invoice will need to be voided.

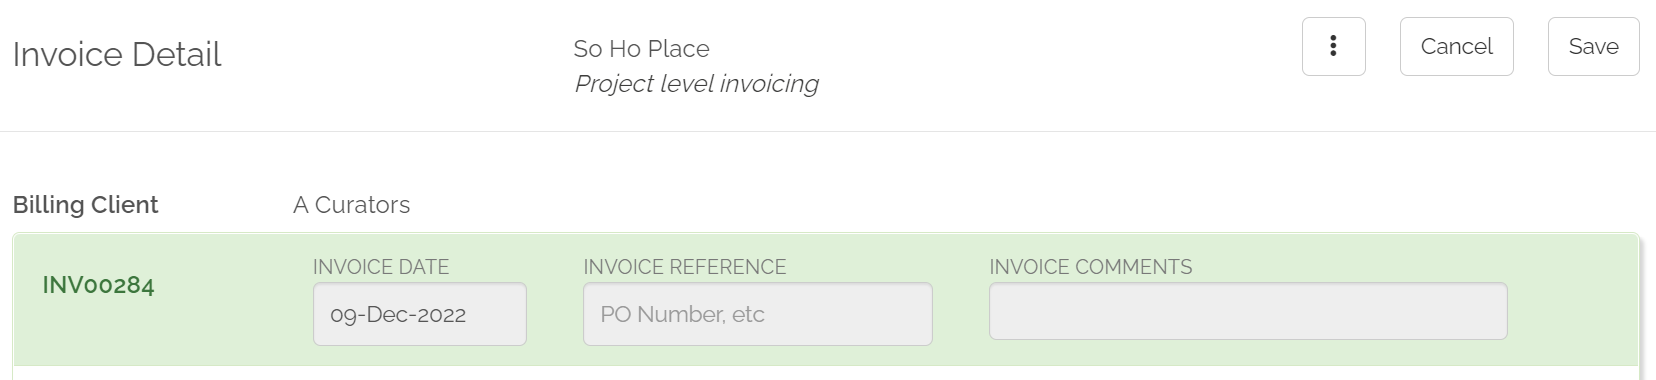
- When the invoice has been finalised, it will be allocated an invoice number and become highlighted in green to indicate this.
We hope this article was helpful. If you have any questions, please do not hesitate to reach out to us. Our support team is always happy to help!